Fasciation is when a plant's stem widens out to be abnormally wide instead of round. Here is a small example. The photo on the right is a normal foxglove after blooming. The one on the left is the fasciated top, - the usual place where fasication is found.
The cause of this phenomena is not understood. Reasons for this freak event include: damage to the apical bud [tip]; viruses; herbicides [which surely doesn’t happen in the wild where I have found the most examples]; bacterial infection; cytokinin that appears to have the ability to stimulate the proliferation of a wide spectrum of cell that is found in the xylem. Cytokinin is thought to proliferate cells in the plant; spontaneous mutations; bacterial infection, mite or insect attack; or chemical or mechanical damage. Some plants may inherit the trait.
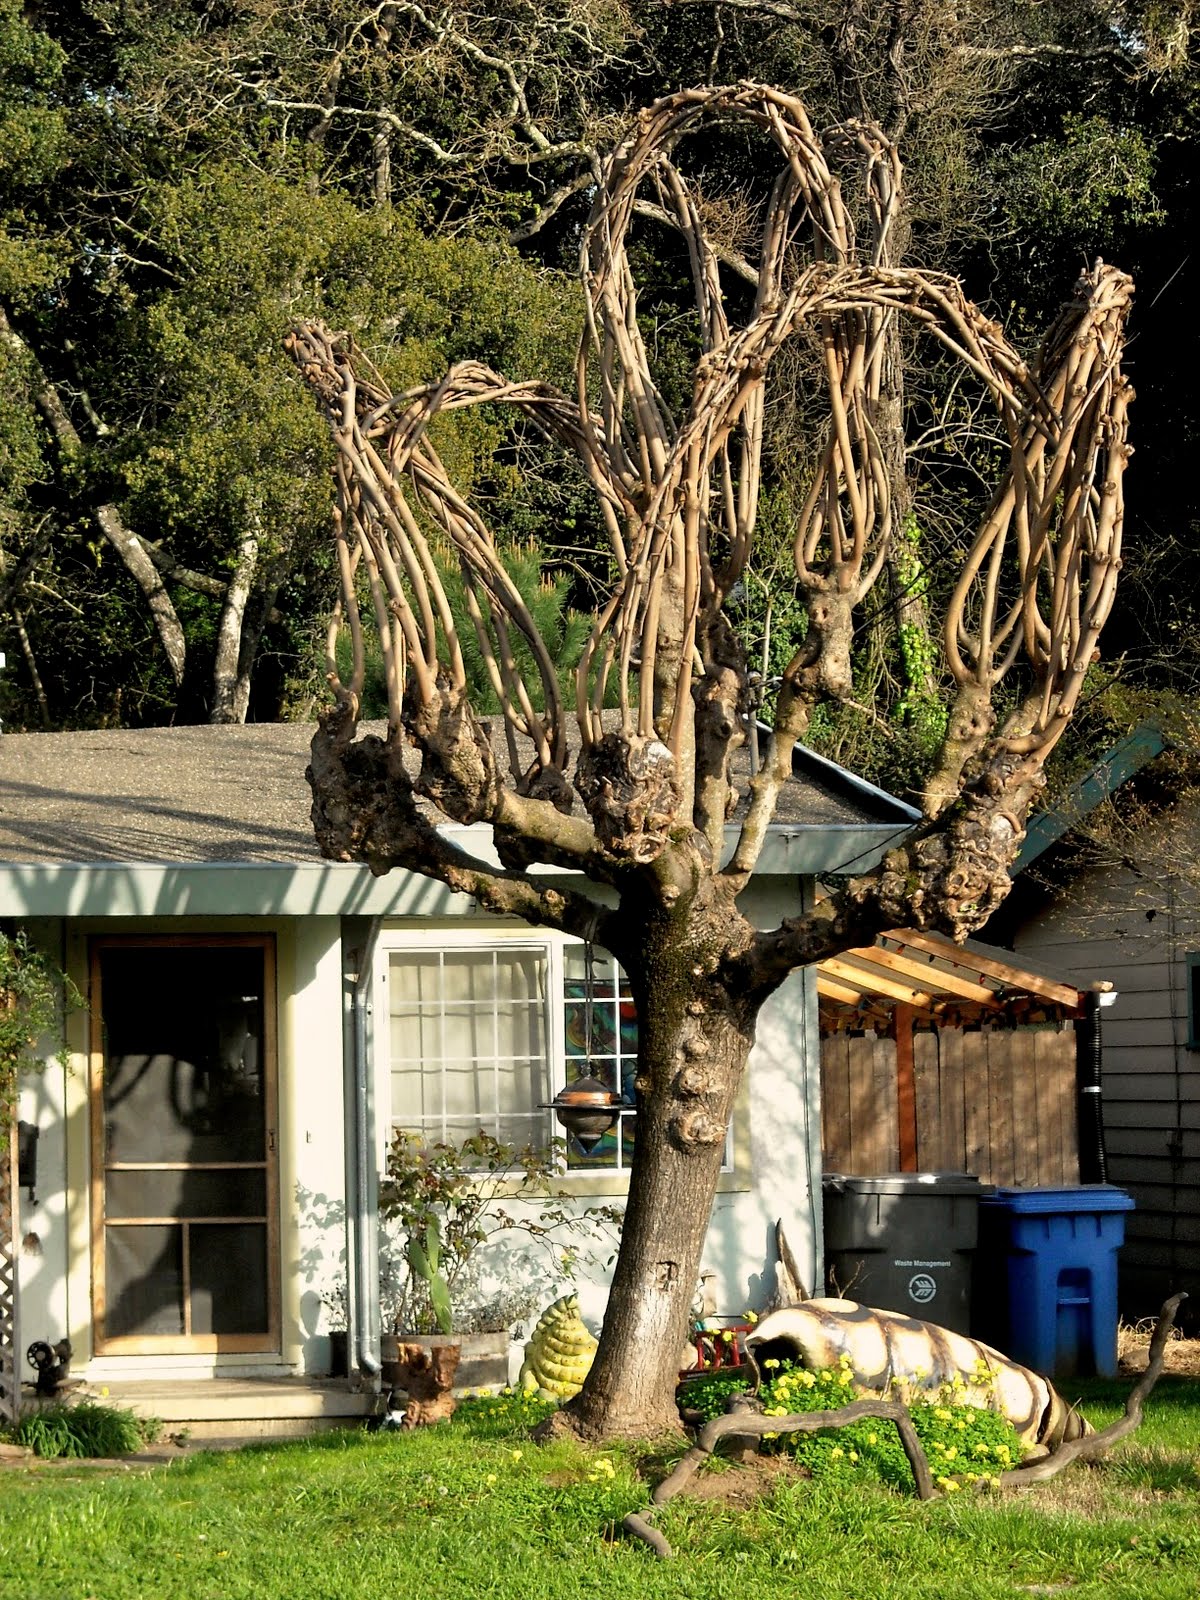
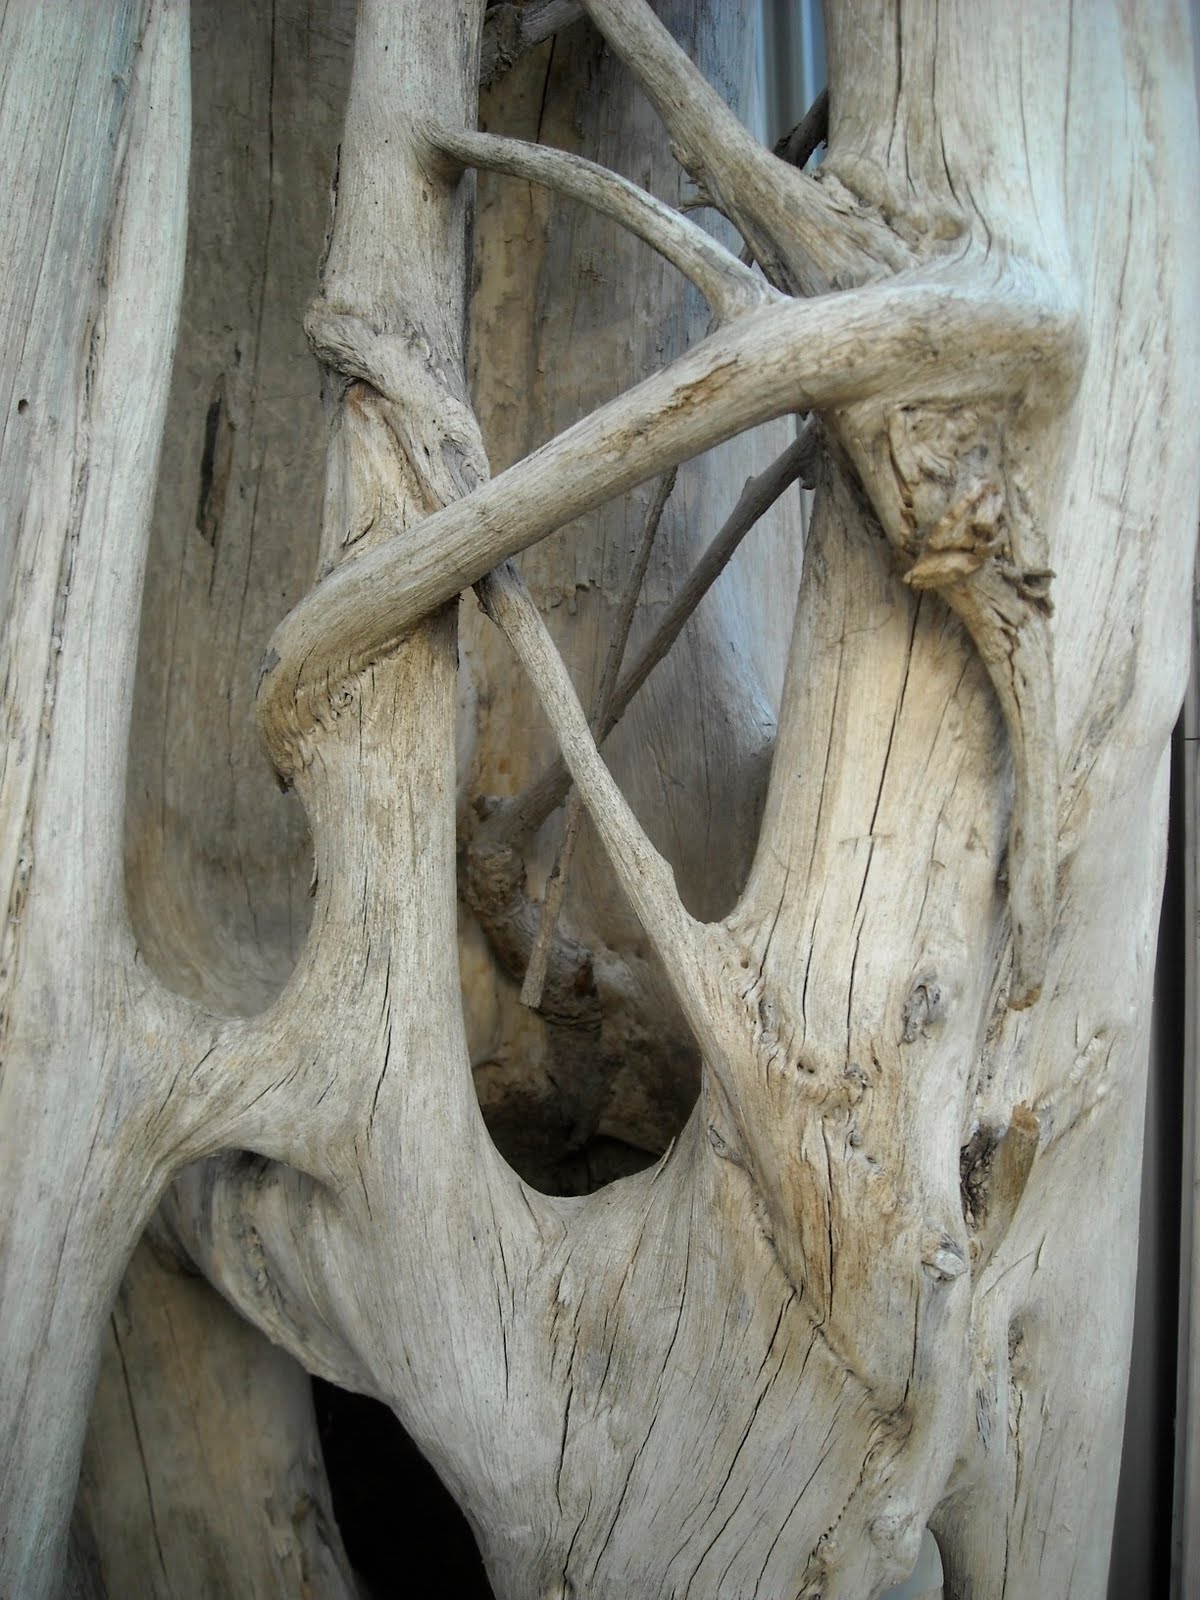
Among the examples in my collection are: Echium fastuosum [Pride of Madera], an oak stem [it’s rare to find fasciation in hardwoods like oaks], cockscomb celosia [Celosia argentea var. cristata is one of the few plants that passes the mutation on as a true “fixed” fasciation], and evening primrose [Oenothera spp.].
Let me know if you've found a fasciated plant.
Please post a comment - I want to know what you think.
Visit my web site to learn about my new book on drip irrigation and other gardening books.
NOTE: The comments section at the bottom of the post has disappeared. Click on the "___ Comments" button or the title under the "Blog Archives". Thanks, Robert
Posted by Robert Kourik at 7:43 AM 0 comments Labels: Echium, fasciation
Newer Posts Older Posts


+vert+best.jpg)